Follow one meal through the kitchen
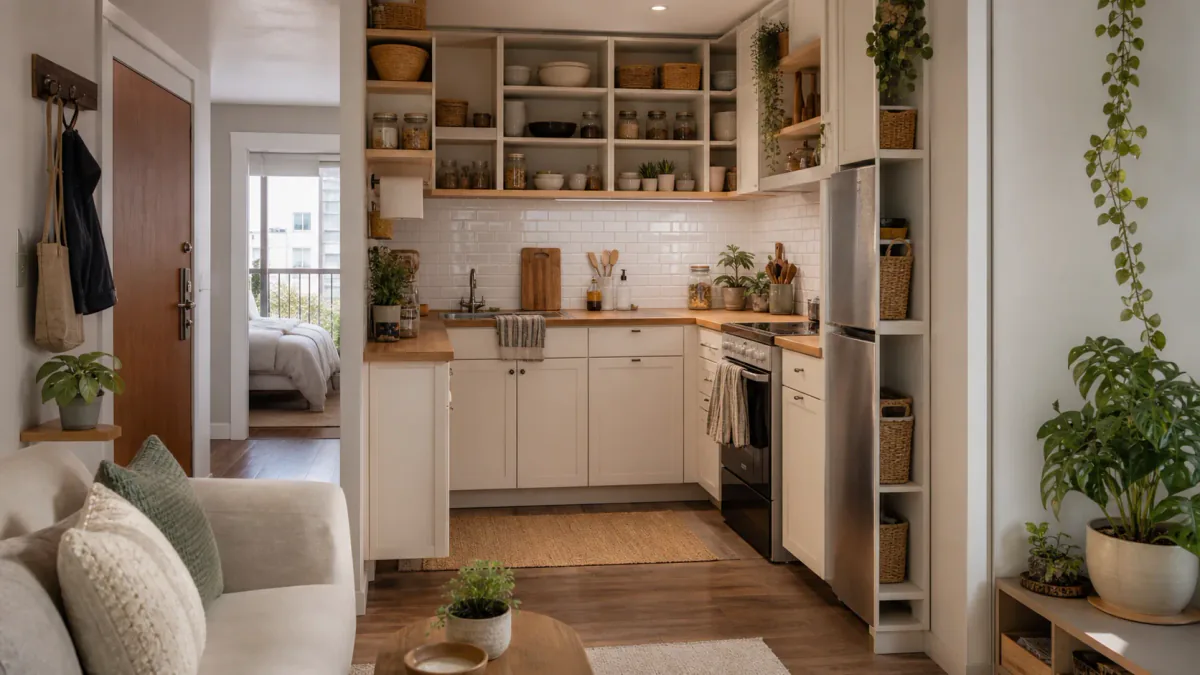
Trace the sequence for a meal you actually make: take ingredients out, wash or prepare them, cook, serve, and clean up. Note where you set a hot pan, where a board fits and which cabinet door interrupts the route. A wraparound kitchen may offer storage on three sides yet leave no uninterrupted preparation surface.
Mark one counter area that must stay available for preparation. It should not become the permanent home of a rack, appliance or overflow basket. The size of this area depends on your usual tasks and the available counter; test it with the board and tools you use rather than adopting a universal measurement.
Assign each wall a primary job
Keep daily plates and glasses near the place they are washed or served. Put pans and cooking tools near the cooking area where they remain safe from heat and do not obstruct controls. Place frequently used preparation tools close to the clear counter. Reserve the least convenient high or deep space for lighter, occasional items that can be retrieved safely.
These are starting assignments, not rigid rules. If an accessible lower cabinet works better for someone in the household, use that evidence. Avoid putting heavy objects overhead merely to free a lower shelf.
Choose access over theoretical capacity
A deep stack holds many items but may require moving four things to reach one. Before adding organizers, remove duplicates you do not use and group the remaining items by task. Test a shallow tray for small daily tools, a vertical divider for boards or lids, and an existing shelf for occasional equipment. Only buy an organizer after measuring the cabinet opening and the usable depth behind its door hardware.
Do not use a shelf, hook or adhesive accessory where heat, moisture, ventilation, appliance instructions or a rental rule makes it unsuitable. Follow the manufacturer's load and installation guidance for any added fitting.
Rehearse the full sequence
Prepare the same meal again after reassigning storage. Count how often you cross the room, clear the counter or move one object to reach another. If a new storage arrangement saves space but slows every meal, it has failed the task. Keep the least complex arrangement that protects a real work surface and lets cabinets and appliances open freely.
Divide storage by frequency and effort
Make three lists: used most days, used weekly and used occasionally. Daily items deserve positions that can be reached without unloading another shelf. Weekly items can sit behind or above them if retrieval stays simple. Occasional equipment can use the least convenient safe space, but it should not trap a daily pan or bowl. Remove an item from its cabinet and return it while another person stands in the kitchen; this exposes door conflicts that a static shelf inspection misses.
Within a cabinet, favor a shallow row over a deep mixed stack. Store lids beside the pots they fit, group baking tools together and keep food-storage containers with their matching lids. If a category continues to overflow, reduce duplicates or define a firm container limit before adding a second organizer.
Protect heat, water and ventilation zones
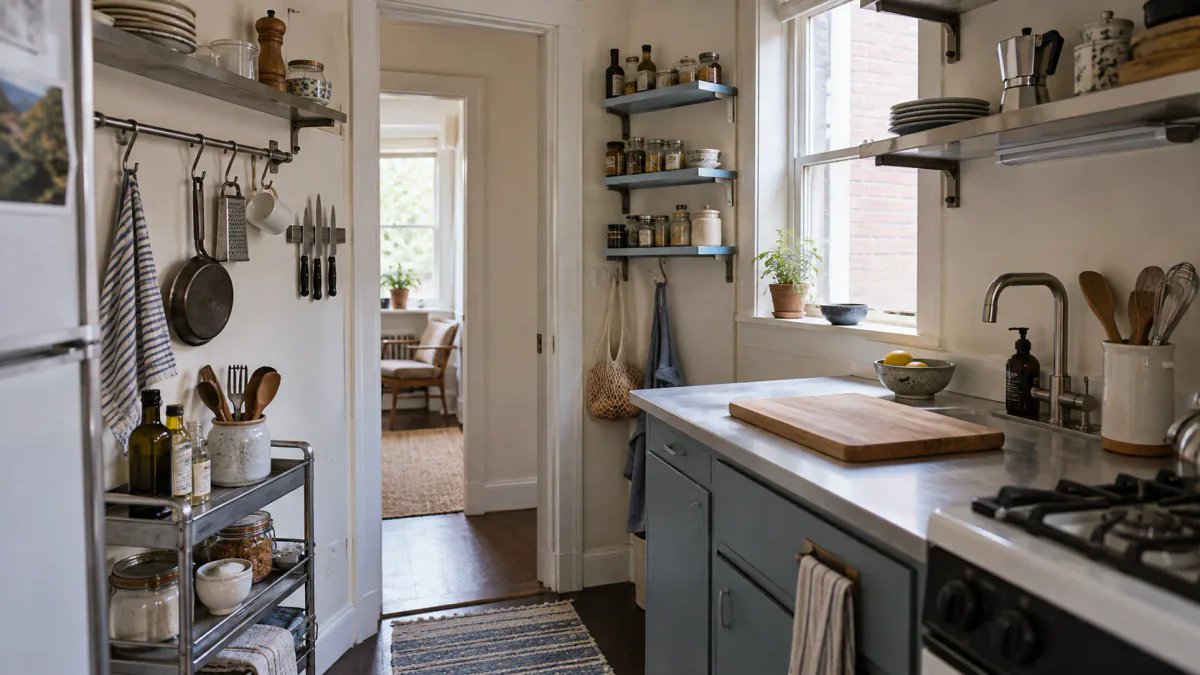
Do not treat every vertical surface as available storage. Keep objects away from burners, hot appliance exhaust, sink splashes and any vent or control that must remain clear. Check appliance manuals before placing anything above, beside or on top of an appliance. A rail or shelf that shortens the trip to a utensil is not useful if it creates a heat hazard or makes cleaning difficult.
Under-sink storage also needs a different plan from a dry cabinet. Keep products in their original labeled containers, avoid crowding pipes and leave enough visibility to notice a leak. Put anything that should be inaccessible to children or pets in storage that provides the protection required by its label and household situation.
Make a zone-by-zone plan
Write one sentence for each side of the kitchen. For example: “sink wall: washing, daily dishes and waste”; “range wall: cooking tools, pans and heat-safe landing space”; “opposite wall: preparation, dry ingredients and serving.” Then list the items that do not support that wall's job. Relocate those first rather than reorganizing every cabinet at once.
Use a temporary box for items awaiting a new location. If none of the three zones needs an object during a two-week trial, decide whether it belongs in occasional storage or should leave the kitchen. Keep the decision reversible until you are sure; the aim is to reduce crossings and counter clearing, not to discard useful equipment in one session.
Evaluate the result after several meals
Test breakfast, a typical cooked meal and cleanup, because each uses the room differently. Note whether two open doors collide, whether clean dishes have a direct return path and whether the protected preparation area stays clear without constant policing. Ask another household member to use the arrangement without instructions; any item they cannot find may need a clearer category or more obvious position.
The plan is complete when common tasks require few unnecessary crossings, every appliance and cabinet can operate normally, heavy items are stored safely and the counter has dependable working space. Photograph each cabinet only if the image will help everyone return items consistently. Revisit one zone when routines change instead of restarting the entire kitchen.