Draw the room in use
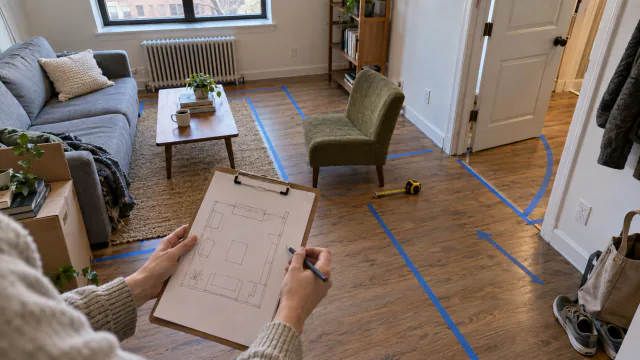
Start with a rough plan of the room, not a shopping list. Mark the entry, windows, fixed cabinets, outlets and every door swing. Sketch the bed, table and chairs twice: once at rest and once with drawers open and chairs pulled back. The second drawing exposes collisions that an empty-floor measurement misses.
Trace three routes on the sketch: entry to kitchen, bed to bathroom, and desk or table to the exit. If a proposed divider crosses one of them, move the boundary rather than squeezing the route. A studio can have clear activity zones without giving every activity its own piece of furniture.
Choose anchors for sleep, work and meals
Keep the bed where it does not cut through the main walking path. Put work where light and power are useful, then decide whether the table can also serve meals. A shared table works when each activity has a small place to put away its supplies; otherwise the next activity begins with clearing the previous one.
Use the largest fixed element as the first anchor. If the kitchen occupies one wall, dining near it may reduce carrying and spills. If the only bright window sits opposite the bed, reserve its light for the activity that needs it during the day. These are choices to test against the actual room, not a universal studio layout.
Mark boundaries without blocking the room
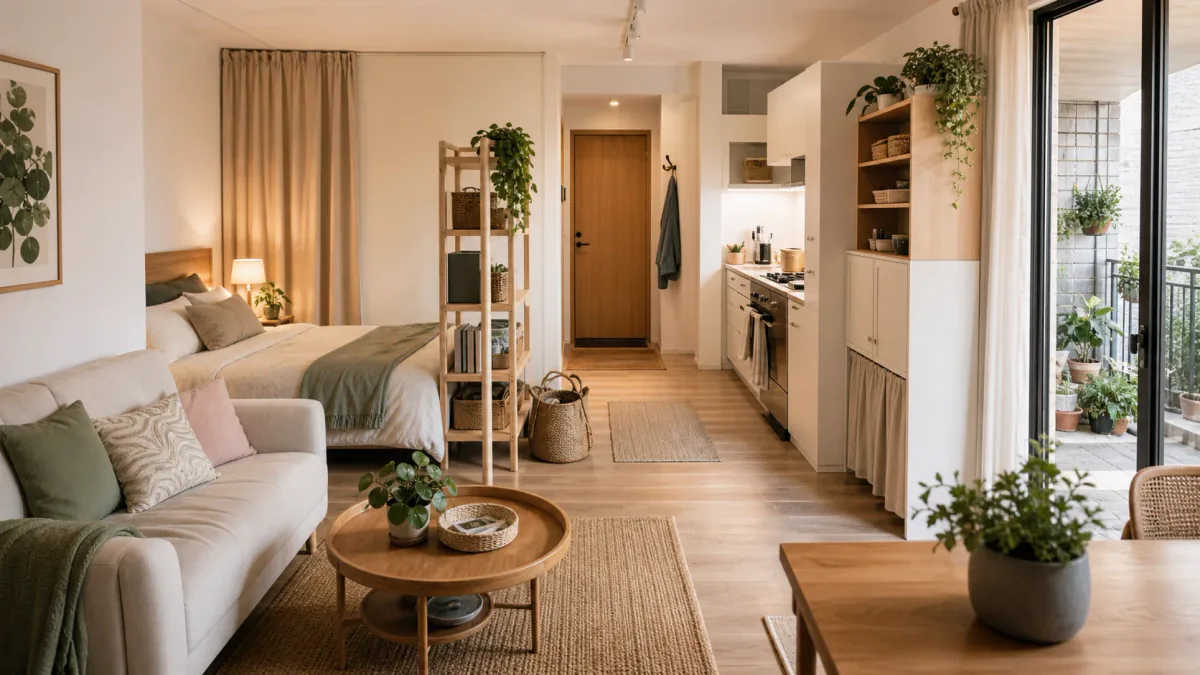
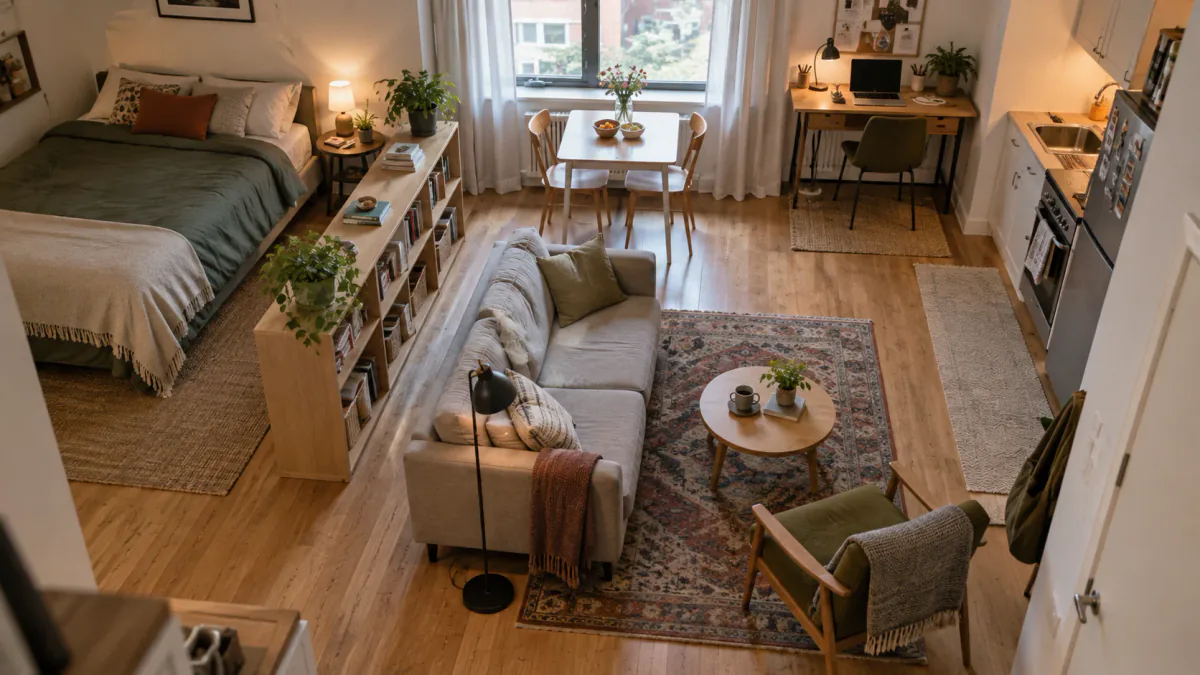
A rug can identify the seating area, a lamp can make a work corner legible after dark, and the back of a sofa can separate sitting from sleeping. These cues take less visual space than a full-height screen. Keep the window sightline and the door route open. If the room feels divided into narrow corridors, remove one boundary.
Before adding a shelf as a divider, check what happens when its contents are visible from both sides. A low, partly open piece may preserve light; a dense shelf can turn two small zones into two cluttered ones. Tall storage also needs appropriate stability and anchoring: the U.S. Consumer Product Safety Commission's Anchor It campaign recommends anchoring furniture with shelves. Follow the product instructions and your lease before installing it.
Test a weekday before buying anything
Mark proposed furniture edges with removable tape or move existing pieces for a reversible trial. Walk through a normal morning, a meal and an evening work or rest period. Open each door and drawer and pull every chair back. Note any place where you must sidestep furniture or move an object to complete a routine.
Revise one conflict at a time. If the work chair blocks the bed, rotate the table or move the chair's parking spot. If a screen steals daylight, replace it with lighting or furniture orientation. The plan is finished when the routes and activity transitions work during an ordinary day, not only when the room is staged.
Plan storage at each transition
Zones stay useful when the objects for one activity have a nearby place to land. Look at every transition in the day: arriving home, changing for bed, opening a laptop, eating and clearing the table. For each transition, name the few objects that appear and decide where they go when the activity ends. A work basket can slide onto one shelf; bedding can fit in an under-bed container that opens without moving a chair; dining supplies can occupy one cabinet close to the shared table.
Avoid assigning storage by empty space alone. A remote cabinet may hold office supplies, but it will not support a quick switch from work to dinner if the supplies are left on the table. Put the return point close to the action and make it easier to use than the temporary pile. When two zones share furniture, give each activity its own contained kit so the changeover has a clear beginning and end.
Work through a studio example
Imagine a rectangular studio with the kitchen beside the entrance, one bright window at the far end and a bed along the longest wall. Begin by protecting a direct route from the entrance to the bathroom and window. A small table near the kitchen can handle meals and laptop work, while a chair aimed toward the window separates daytime attention from the bed. A rug under the chair and table can mark the active zone without blocking light.
If the bed still dominates the view, first try orientation rather than buying a screen. Turn the bed so its side, rather than its foot, faces the work seat; place a low storage piece at the bed's end only if the route remains clear. Keep the trial reversible for several days. The example is a decision sequence, not a floor plan to copy: another room may need the window for sleep, the table near an outlet or a wider path for mobility equipment.
Know when the zones are working
Use a short scorecard after the trial. Can you reach the exit and bathroom without moving furniture? Can the table change functions in a few minutes? Does each activity have adequate light, power and a return place for supplies? Can doors, drawers and sleeping furniture open fully? Does the room still admit daylight across its main sightline? A “no” identifies the next adjustment.
Stop adding boundaries once the activities are easy to begin and reset. A successful one-room plan may look visually open; zoning is shown by how the room works, not by the number of dividers. Photograph the tested arrangement or mark final furniture positions on the sketch, then record the one change you would make only if the same conflict returns.